
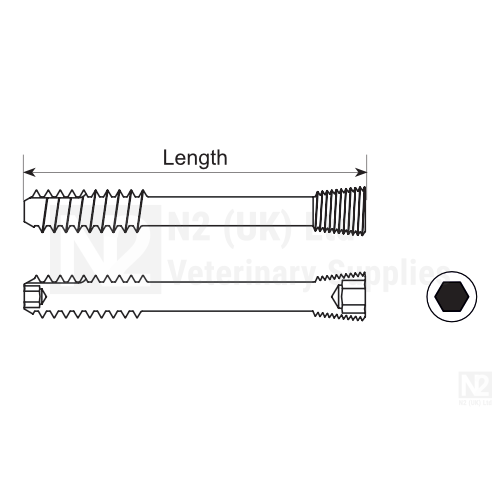
Main Drive is 3mm Hex with an emergency 1.5mm Hex Drive for recovery on opposite end
IOHC Screws
£38.00
Description
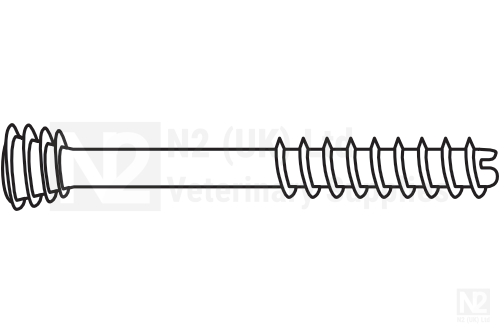
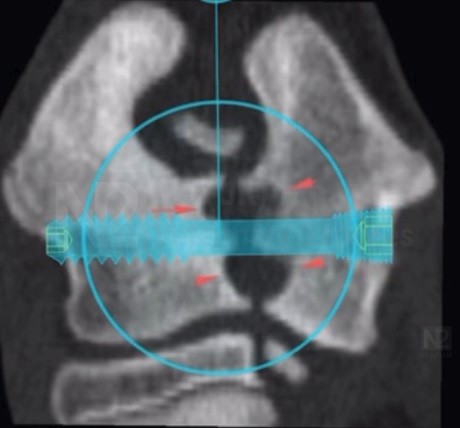
This specialist screw was developed over the last two years to address the sometimes awkward procedure of Incomplete Ossification of the Humeral Condyle. Made from Extra Hard Implant Material (Commonly used for Arthrodesis Wires +40% than standard Shaft Bone Screws). Retains shape and wear resistant. Dual Hex Drive. Main Drive is 2.5mm Hex with an emergency 1.5mm Hex Drive for recovery on opposite end. Offering compression with cutting action flutes. The thread form is a modified HC (Locking Screw) from human ankle surgery. This screw greatly reduces previous complications of micro fractures, screw fatigue failure and reliability.
Additional information
| Diameter (mm) | 4.5 |
|---|---|
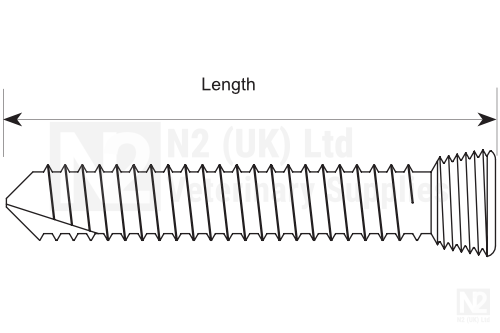
| Length (mm) | 24, 26, 28, 30, 32, 34, 36, 38, 40 |
| Material | Stainless Steel |